
Chet.ie
Electonics, Projects and Ramblings – Make it, break it, hack it, mend it.
December 15, 2016 — 10:20
I believe Sky originally supported using the Sky HD remote with the Sky Q box but disabled it in a firmware update. Using any of the Ken Shirriff based arduino IR libraries we can easily create a circuit to map the Sky HD remote to the Sky Q commands.
The code is below and commented quite well but if there is any questions please ask.
[code]
/*
Sky HD to Sky Q mapper
Allows use of Sky HD remote with the Sky Q
Chet Kelly
www.chet.ie
*/
#include <IRremote.h>
//base value of all Sky HD codes
#define SKYHDBASE 0xC05C00
//base value of all Sky Q codes
#define SKYQBASE 0xC0081A00
byte buttonVal;
long sendButton;
/*
* Default is Arduino pin D11.
* You can change this to another available Arduino Pin.
* Your IR receiver should be connected to the pin defined here
*/
int RECV_PIN = 11;
IRrecv irrecv(RECV_PIN);
IRsend irsend;
decode_results results;
void setup()
{
irrecv.enableIRIn(); // Start the receiver
}
void process(decode_results *results) {
//We are only interested in Sky HD codes which are all 24 bit RC6
if (results->decode_type == RC6 && results->bits == 24) {
//assign 24 bit value to 8 bit variable to take least significant byte
buttonVal = results->value;
//check if its likely to be a valid Sky HD code by comparing the base
/*
check if its likely to be a valid Sky HD code by comparing the base e.g.
received = 0xC05C5C
assigned to buttonVal = 0x5C
0xC05C5C – 0x5C = 0xC05C00 = Sky HD base
*/
if(results->value – buttonVal == SKYHDBASE){
//Sky HD least significant byte matches corresponding button on Sky Q
sendButton = SKYQBASE + buttonVal;
//send IR
irsend.sendRC6(sendButton, 32);
//we need to re-enable receiving after sending
irrecv.enableIRIn();
}
}
}
void loop() {
if (irrecv.decode(&results)) {
process(&results);
irrecv.resume();
}
}
[/code]
January 10, 2016 — 23:40
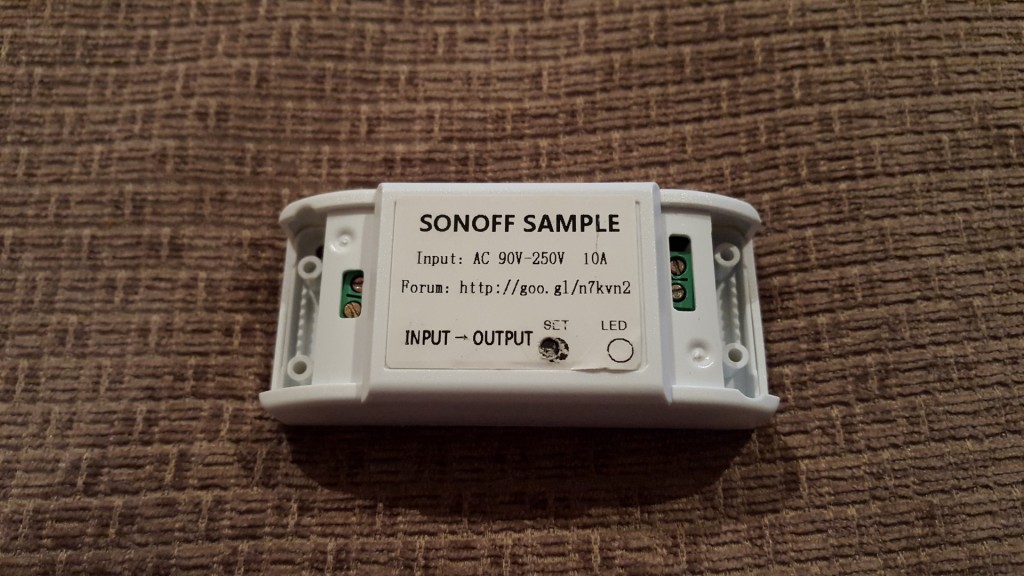
ITEAD, purveyors of electronics kits and bits, and one of the original sources of the super cheap PCBs, have come up with their own range of IoT remote controlled mains switches. The Sonoff, a 10A capable multipurpose switch and the Slampher, a 2A lamp switch for anything with an E27 screw in socket. They have sent me one of each for the purposes of reviewing as they are currently running an indiegogo campaign for both. In addition to being IoT devices these can also be controlled by the included RF remote control.
Both devices are functionally identical so apart from the physical connections and power switching capabilities what applies for one also applies for the other.
Initial Setup
The setup guide is located here so I won’t go into too much detail. You can use them immediately and offline with the RF remote, it is simply a matter of teaching the device which button on the (4 button) remote toggles the output by holding the relevant button down when the device is in “learning” mode. Wifi control setup requires an android/iphone (tested with android here) device. Note that account verification uses an sms message so a phone is required for initial account creation. There is no requirement for the phone component after this so hipsters rocking a nokia 5110/ipad combo will be able to use this. I do question the reasons why this is done over the more usual email verification but Xiaomi also do the same so perhaps its more common in China.
Wifi setup involves putting the device into some sort of access point mode, the details of this are handled within the app, where you input you wifi passkey. The device then appears in your app where it can be renamed, turned on/off or a timer set. All in all the app end was quite a seamless process, the only problem i had was that the button on the sonoff was a bit awkward to use, it needed to be about 1mm further out of the casing, i’m unsure if any changes are planned from this sample unit but i found it necessary to cut the cover sticker so i could see what i was doing and use a pen to press the button.
Usage
I used both devices with both the RF remote and via wifi/phone. The RF performance is a bit flakey at best. It requires holding the button down before you’ll get a successful switching. Its a nice extra to have it in cases where wifi is down or you want a third party to have control over your device temporarily. For me it was much easier to use the phone app.
I put the devices into use over christmas. The screw in bulb connection is not that common here and i had only one light fitting which is a floor lamp from IKEA. Generally having remote control over lights is not something we require but i came up with a great idea for Christmas morning where i told the kids that they couldn’t get up until the lamp in the hall came on and I set a timer in the app for the lamp to come on at 8am. Around 7:30 i could hear them talking in their bedroom so i went down where they were patiently waiting. I went back to our room where i made sure the wife and baby were ready to start Christmas. Once ready i turned the lamp on via the app and the kids were into us in a matter of seconds! If it wasn’t for the slampher i fear we would have been up about 5am! A useful feature is that the timer settings are saved to the server so if you run the app on separate devices they will sync up and more importantly even if your phone is off the device will still switch.
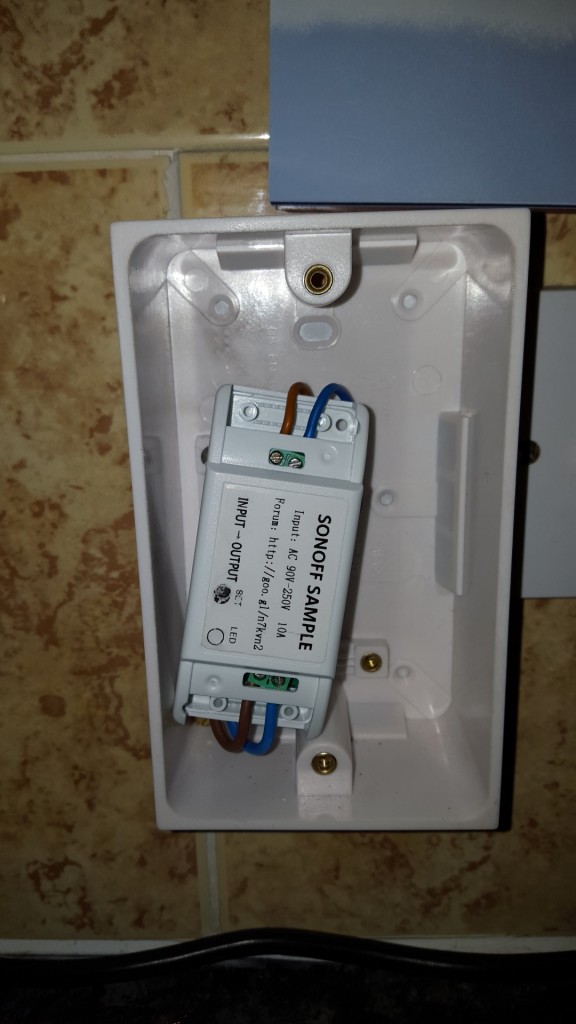
For the last year or more i have been using a spark core to control our central heating boiler with a solid state relay (a separate post on this is coming at some point). This was turned on and off with http post requests from my phone. I have now replaced this with the sonoff and have set timers in the app so it comes on in the morning. Manual control is obviously also available. Over the last two weeks it hasn’t failed to come on at the right time or via manual control in the app.
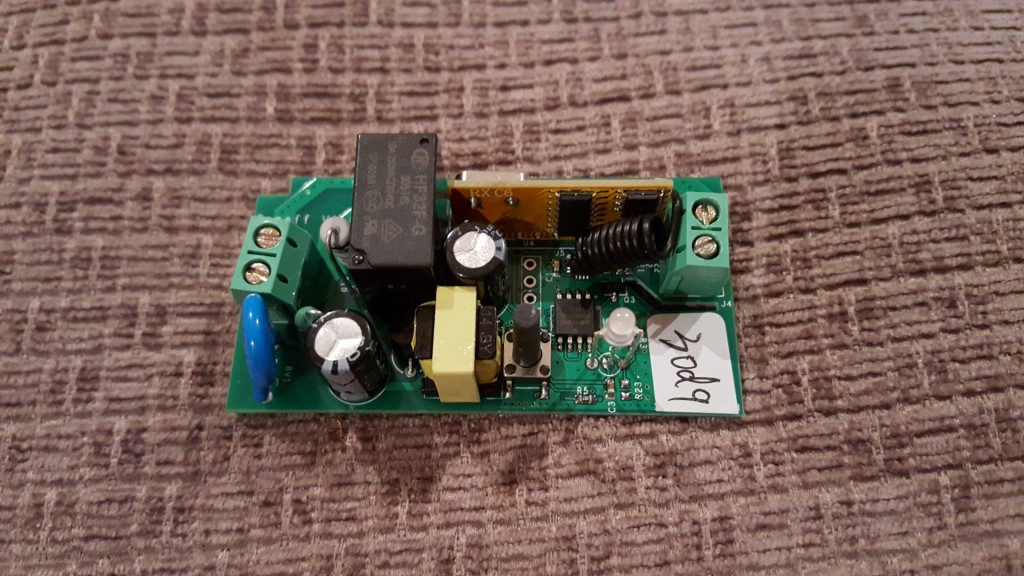
Teardown
Sonoff:
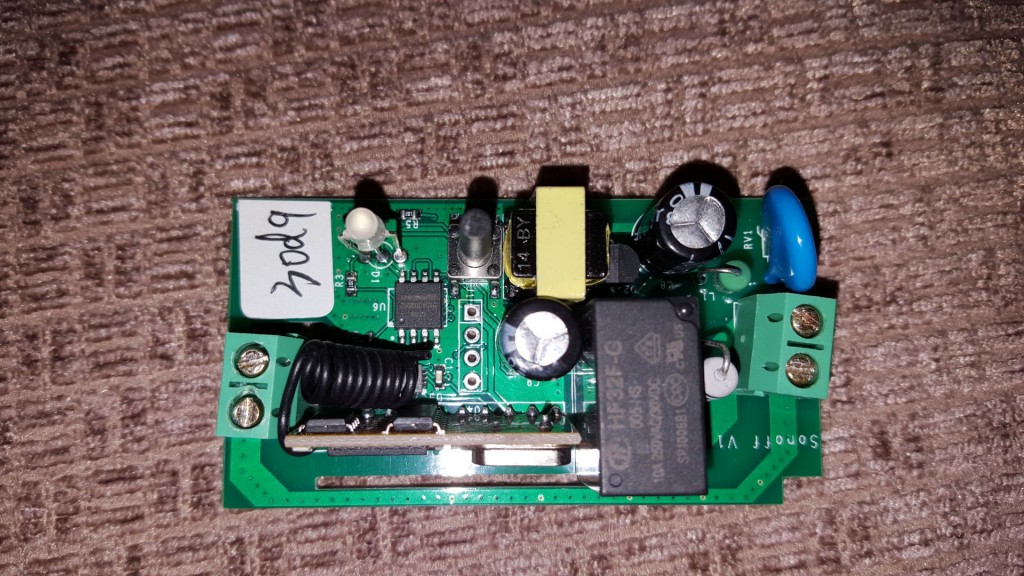

Slampher:
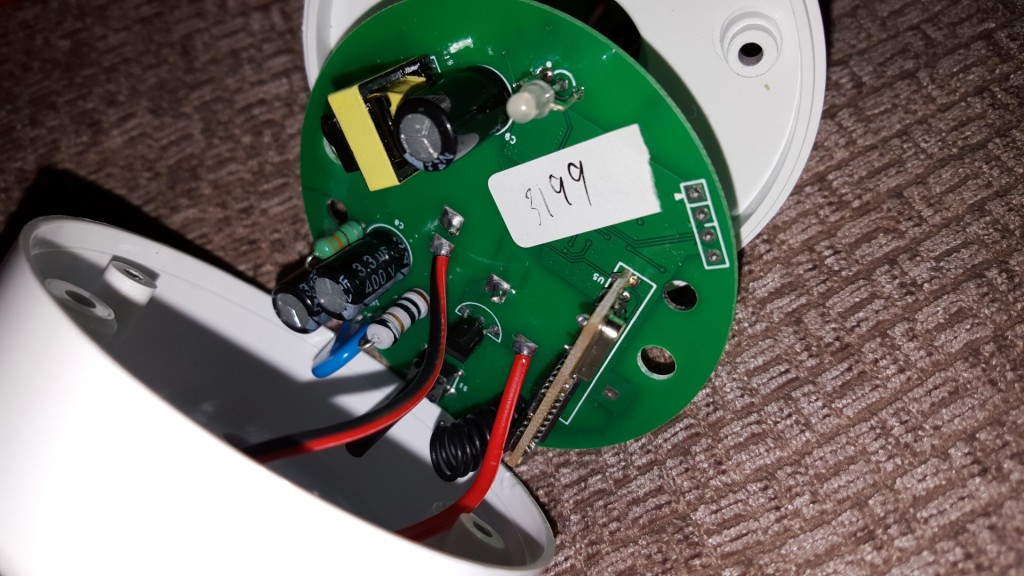
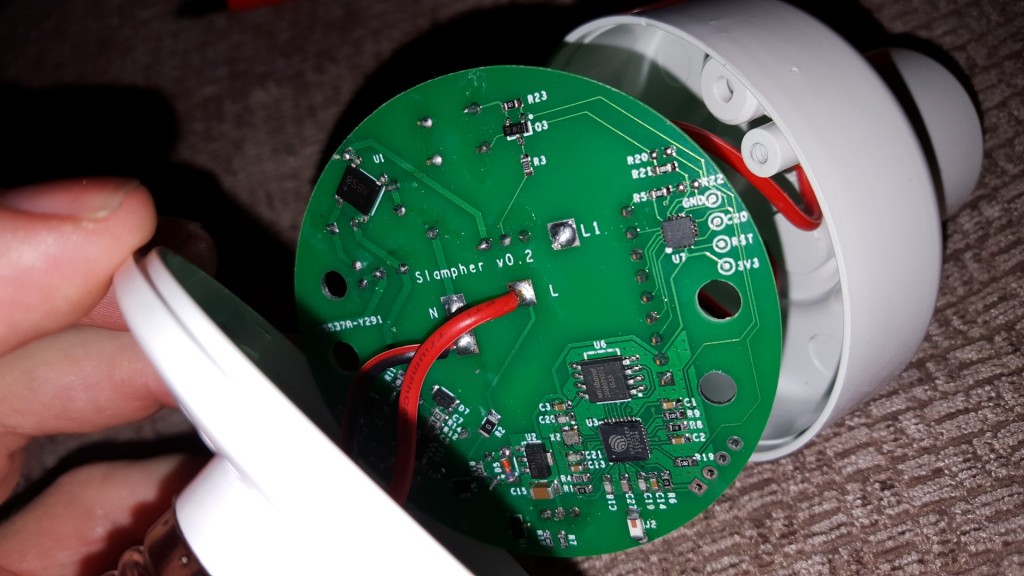
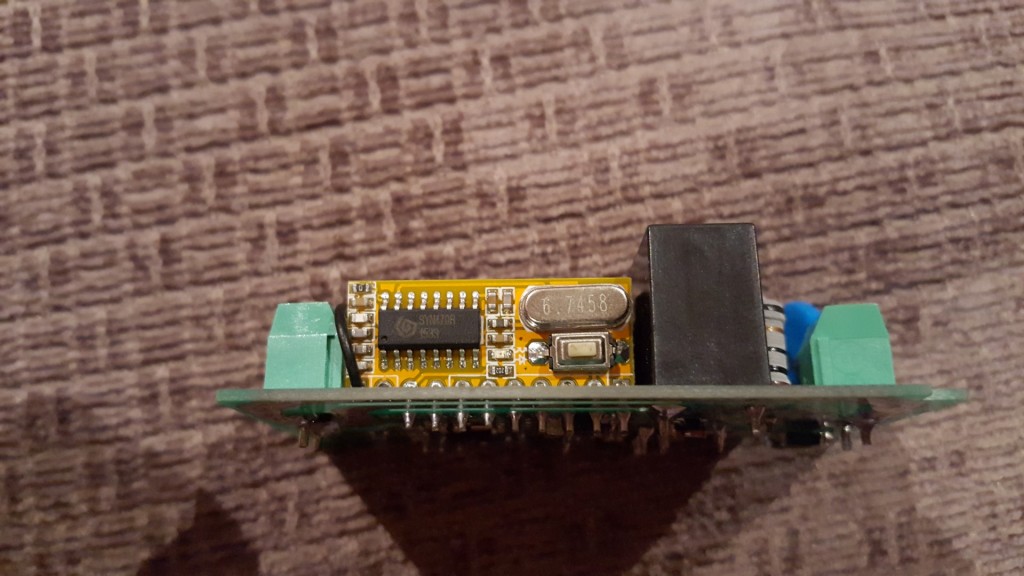
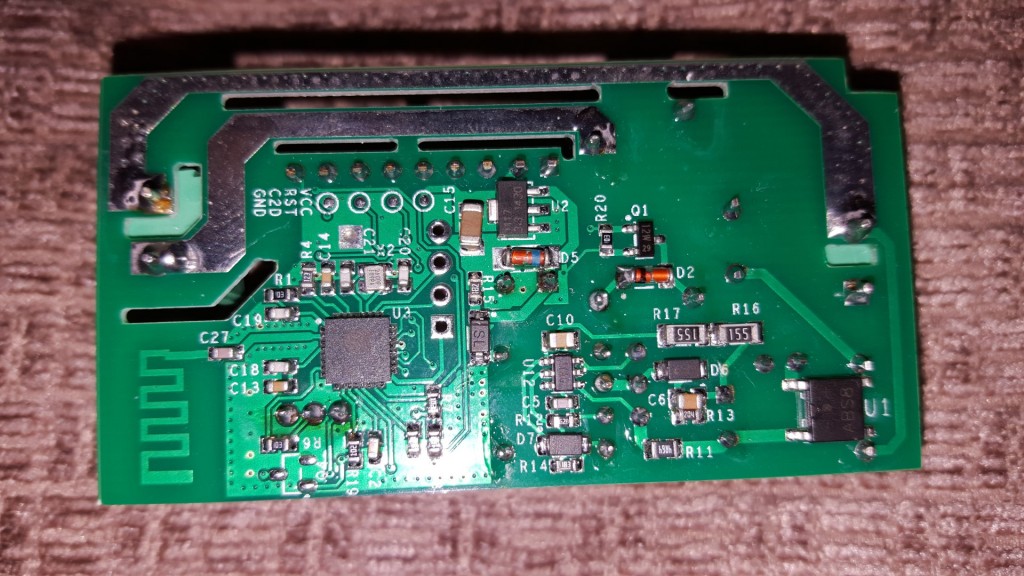
So whats inside? Each shares the same hardware with the only difference being the relay in one and triac in the other.
The relay in the sonoff is a Hongfa HF32F and the triac is a JST131U (chinese link). Interestingly this is listed as a 1A part, not the 2A that is claimed.
The RF module is RXC6 433MHz module which can be bought for a couple of dollars from any of the usual sources.
Wifi is handled by everyones new favourite ESP8266 but here it it integrated into the circuit design and not just a plug in module.
All of this is tied together with a Silabs EFM8 8bit microcontroller
Programming headers for both the ESP8266 and the EFM8 are broken out.
Overall Impressions
I have to say, i’m quite impressed by these devices. They have been faultless in operation and control over wifi is as good as instant. One thing i would love to see is access to the API so they can be controlled by other apps. I use Tasker on android for my automation but i have no way to integrate these as yet. I did spend a bit of time wiresharking the app but that needs more time spent on it. I have a feeling the app opens a TCP socket and commands are sent via this. Initial app config (timers) are downloaded via http on startup and the app also sends phone info out (imei amongst other stuff) which may be an issue for some.
Even without direct access i still see this as extremely useful. So much so that i’m backing the campaign on indiegogo as an extra couple of sonoffs will definitely get used.
January 14, 2013 — 11:06
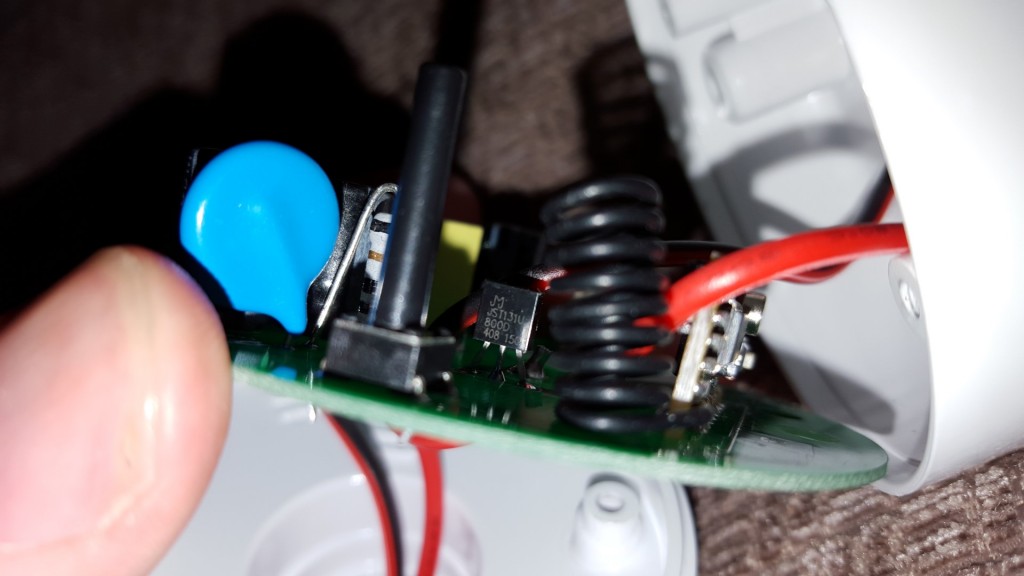
For years our heating timer was sitting on the wall being not particularly useful. It was so awkward to reprogram new times into it that it had come to a point where it had a basic program on it and was mostly manually controlled by switching it on for 1/2/3 hours at a time. Finally i had enough of it and with some spare time on my hands i set about adding some remote control functionality to it. The first plan was to gain control over the “+hrs” button we were used to using and then see what was possible. In preparation i ordered an arduino ethernet shield but i wasn’t sure what i was going to do with it.
A popular method of controlling a switch with a microcontroller is to replace it with a transistor. As i didn’t want to interfere with the normal operation of the switch i traced back the pads on the switch to two vias on the PCB which allowed me to solder some thin wires in to attach the transistor to. To test i brought out GND and the base wire and reassembled. Running some simple code to toggle the switch let me cycle through the times and turn it off as expected.
more…
December 24, 2012 — 22:27
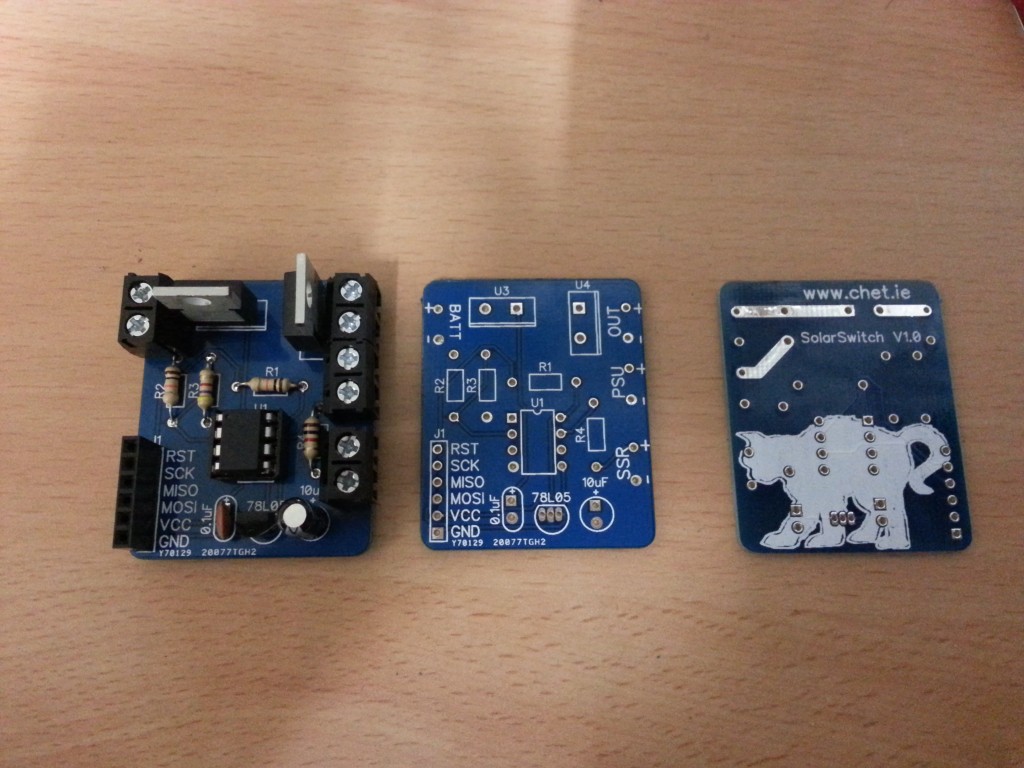
My brother has a solar panel on the roof of his house which is used to charge a 12v battery which runs the equipment in his attic, the routers etc. There is a proper solar regulator/battery charger which keeps the battery topped up. The problem is that when the sun isn’t shining (which happens a lot here!) the battery drains and eventually the voltage drops. He had bought a switch mode power supply that would take over from the solar regulator but he wasn’t sure how to wire it up to work as he wanted, which was to have the power supply on only when it was need so there would be no power wasted.
This is what i came up with for him.
more…